

Although a well installation will provide you with your own private water source, it is a significant investment. Before the well installation process starts, there are a few things our team at Barefoot’s Well Drilling and Pump Service wants you to know.
Below, we’ll go over the steps you can expect during the well installation process.
- The first step in well installation is to find the optimal site on your property. To do this, we will assess the soil, local groundwater conditions, and neighboring infrastructure like septic systems or drainage areas. Proper placement protects the water supply from contamination while also ensuring the well has access to a reliable underground aquifer.
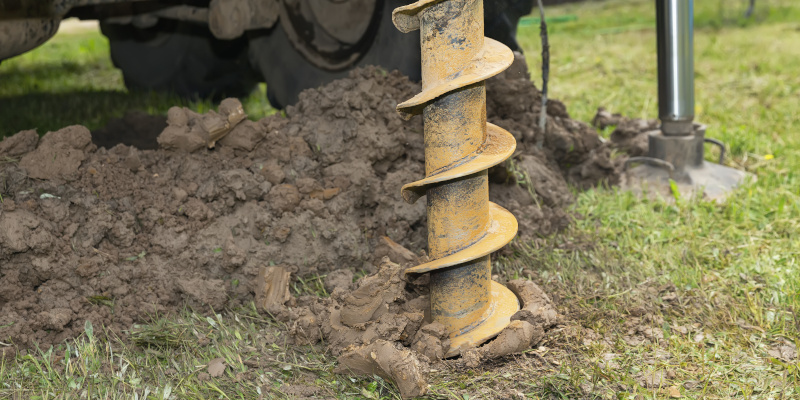
- The next step is to drill the well. We use specialized drilling equipment to access groundwater, which might vary in depth depending on the property. Once the proper depth has been achieved, a well casing is erected to keep the well walls stable and prevent contaminants from entering the water supply.
- After drilling the well, we install the well pump and pressure system. The pump transports water from the well to the home, while the pressure tank regulates water pressure to ensure that it flows consistently via faucets, appliances, and fixtures. Choosing the correct pump type and system size is essential for dependable performance.
- Water testing is another important phase in the well installation process. New wells should be tested for bacteria, nitrates, and other potential contaminants to ensure that the water is safe for consumption. Many homeowners continue to test their well water on a yearly basis to ensure its quality.
- Finally, it is important to understand the need for ongoing maintenance. While wells are designed to last for decades, certain components may require frequent maintenance or replacement. Prioritizing these things ensures the system works smoothly and protects your home’s water supply.